How to Create an Ecommerce Website with WordPress

Building an ecommerce website with WordPress is a great way to establish your online presence and start selling products. Here’s a comprehensive overview of the steps you need to take to create your store effectively.Create an Ecommerce Website
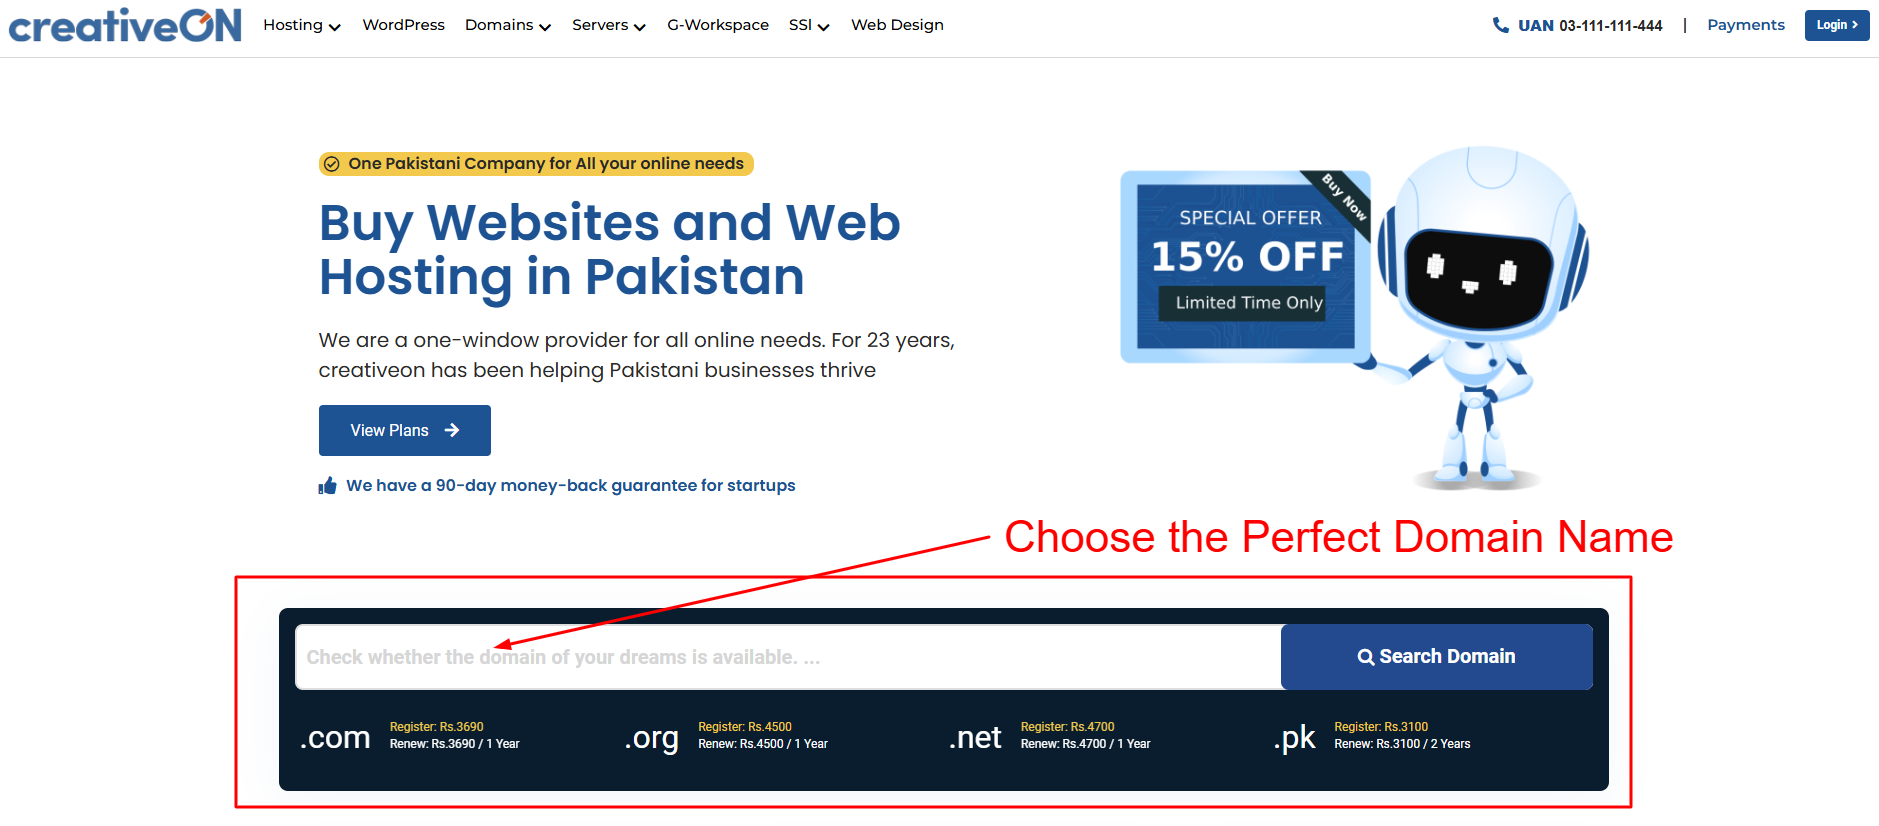
Choose the Perfect Domain Name
Your domain name is essentially your website’s unique address, found after the ‘www’ in your URL. For example, our domain is ‘keepmeupdate.com’.
You can purchase a domain name from sites like CreativeOn. If you’re fortunate, you might find the name you want available. However, if it’s not available, you may need to consider resale options, which can sometimes be quite expensive.
It’s a good practice to keep your domain name closely aligned with your brand name, while also ensuring it remains short and memorable.
Purchase Domain and Hosting
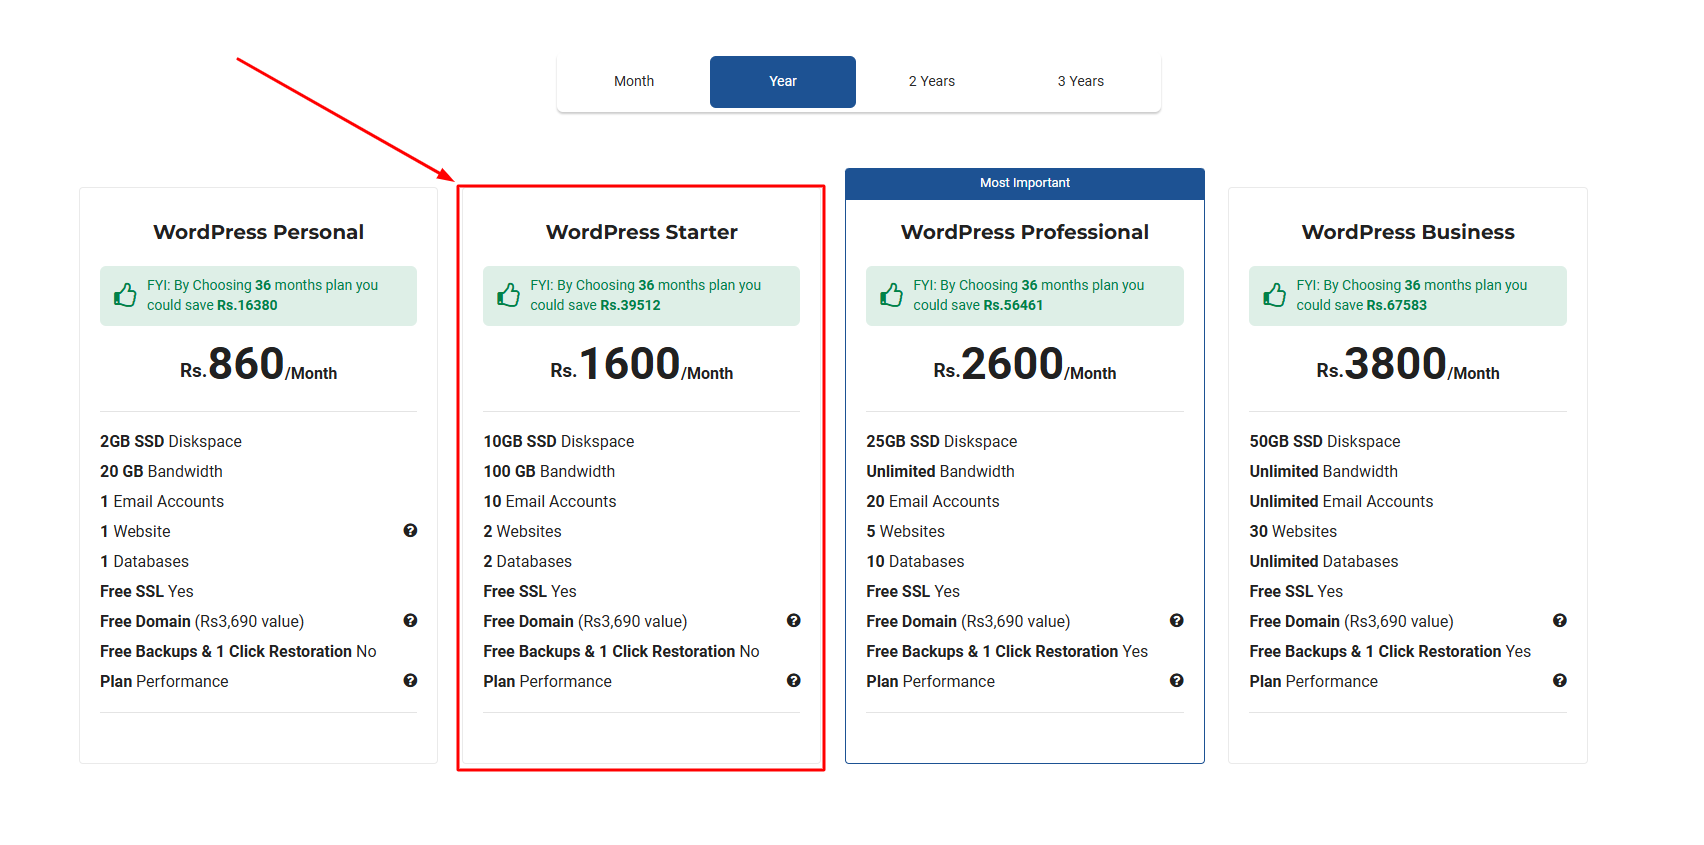
The first step is to choose a domain name that reflects your business and secure reliable hosting. For this, consider using Creativeon.com, a reputable provider in Pakistan known for its 24/7 support via phone, email, or WhatsApp.
Install WordPress
Once you’ve purchased your domain and hosting, you can easily install WordPress using the one-click installation feature available in your hosting control panel (cPanel). This will set the foundation for your ecommerce site.
- Log in to your cPanel account and navigate to the “Softaculous Apps Installer” section, then select “WordPress.”
- Click the “Install” button to proceed to the WordPress installation details page.
- Choose your preferred username and password for the WordPress admin account.
- Scroll down and click the “Install” button to complete the installation process. You’re all set!
Install and Configure WooCommerce
- Go to the Plugins Section
- In your WordPress dashboard, navigate to Plugins > Add New.
- Search for WooCommerce
- In the search bar, type WooCommerce. The official WooCommerce plugin should appear as the first result.
- Install and Activate WooCommerce
- Click Install Now next to the WooCommerce plugin, and once it’s installed, click Activate.
- Run the WooCommerce Setup Wizard
- After activation, the WooCommerce setup wizard will launch. Follow the wizard to configure your store settings, including currency, payment options, and shipping methods.
Steps to Install a WordPress Theme
Choose a Theme: Select a theme that aligns with your brand. You can opt for a free theme from the WordPress repository or purchase a premium theme from a third-party provider.
Install the Theme:
- For Paid Themes: After purchasing, download the theme file. Go to your WordPress dashboard > Appearance > Themes > Add New, then click “Upload Theme” to upload the downloaded file. Once uploaded, activate the theme.
- For Free Themes: In the WordPress dashboard, navigate to Appearance > Themes > Add New, then search for the theme by name. Click “Install” and then activate it.
- Import Demo Content (For Paid Themes): If your theme comes with demo content, go to the theme’s settings or documentation, and follow the instructions to import demo content. This will give you a pre-designed layout to customize.
- Customize Your Site: Once the theme is installed, begin editing by adding your products, adjusting settings, and customizing the design to match your brand.
- Finalizing: After making all the necessary edits, you’re all set and ready to go live
Steps to Add a Product in WordPress
- Navigate to Products: On the left-hand sidebar, click on Products > Add New.
- Enter Product Title: In the “Product name” field, enter the title of your product.
- Add Product Description: Below the title, in the main content area, write a detailed description of the product.
Select Product Categories:
- On the right sidebar, find the Product Categories section.
Select one or more categories that best fit your product. You can add new categories if necessary.
Set the Featured Image: - In the right sidebar, find the Product Image section.
- Click Set product image, then upload or select an image from your media library to serve as the featured image for the product.
- Publish the Product: After filling in all the necessary information, click Publish to make your product live on your website.
- Now your product is added and ready for customers to view!
Conclusion
By following these steps, you can create a successful ecommerce store with WordPress. From purchasing a domain to adding products, each phase is essential to building an effective online business. With the right tools and strategies, you’ll be well on your way to reaching customers and driving sales. Happy selling!

 English


